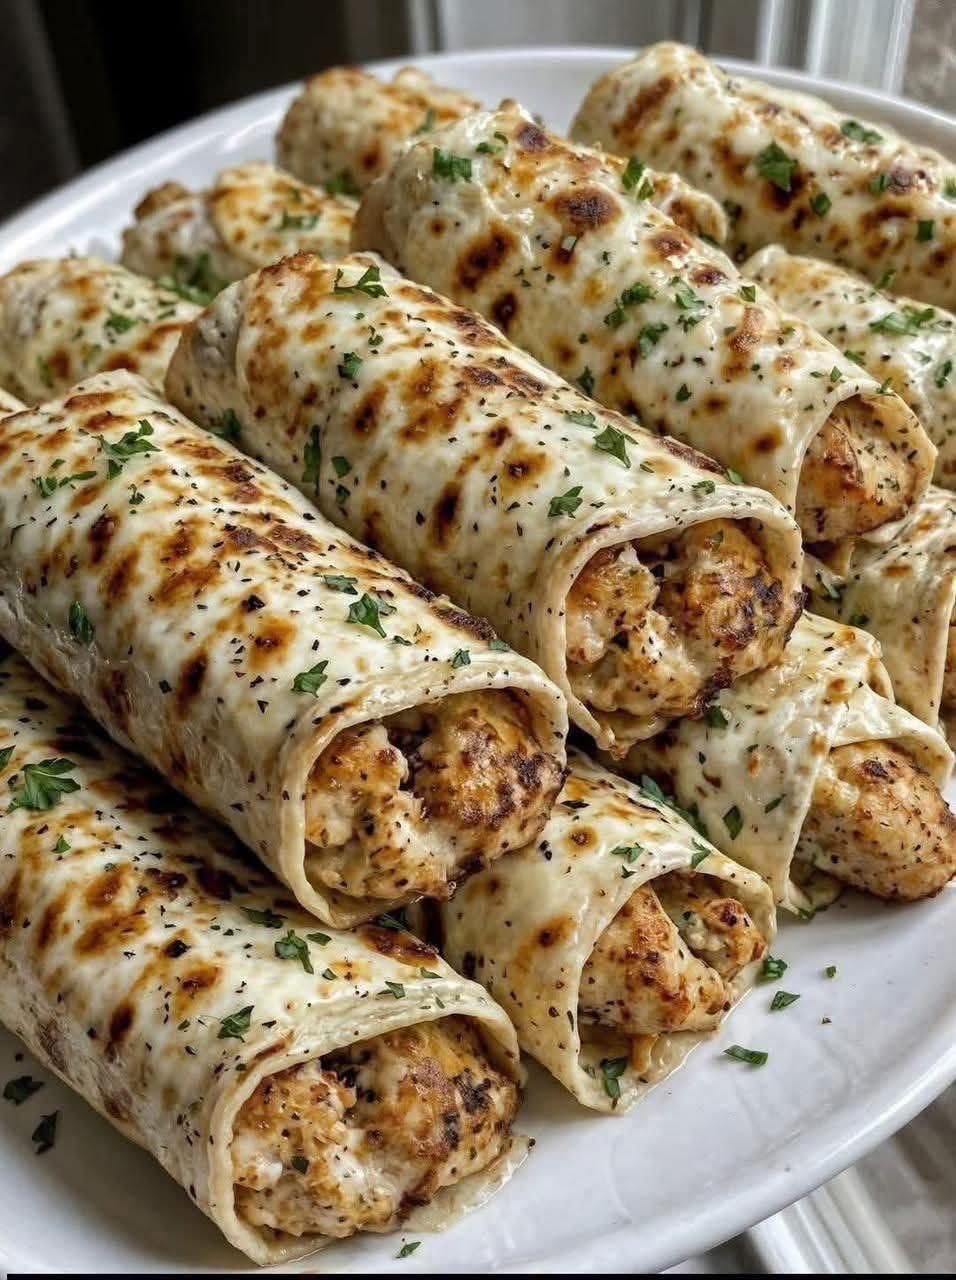
These are the ultimate quick, comforting, and flavorful meal—perfect for busy weeknights, lunch, or a satisfying snack. Tender chicken and melted cheese are wrapped in a soft tortilla with a punch of garlicky, buttery goodness.
Here are two fantastic versions: a stovetop skillet method and a crispy “crunchwrap” inspired method.
Version 1: Simple Skillet Cheesy Garlic Chicken Wraps
This is the fastest, easiest route to deliciousness.
Ingredients (Makes 4 wraps)
· For the Filling:
· 1 lb (450g) boneless, skinless chicken breasts or thighs, cut into small bite-sized pieces
· 1 tbsp olive oil
· 4 tbsp butter
· 4-5 large garlic cloves, minced
· 1 tsp Italian seasoning (or dried oregano)
· ½ tsp paprika
· Salt and black pepper to taste
· 1 ½ cups shredded cheese (a mix of mozzarella & cheddar is perfect)
· Optional add-ins: ¼ cup chopped spinach, cooked bacon bits, sliced jalapeños, or sun-dried tomatoes
· For Assembly:
· 4 large burrito-size flour tortillas
· Optional for serving: sour cream, ranch dressing, salsa, or marinara for dipping.
Instructions
- Cook the Chicken: Season chicken pieces with salt, pepper, and paprika. Heat olive oil in a large skillet over medium-high heat. Cook chicken until golden brown and cooked through (5-7 minutes). Remove to a plate.
- Make the Garlic Sauce: In the same skillet, reduce heat to medium-low. Add butter. Once melted, add minced garlic and Italian seasoning. Cook for 1-2 minutes until fragrant (do not burn the garlic!).
- Combine: Return the cooked chicken to the skillet with the garlic butter. Toss to coat thoroughly.
- Assemble Wraps: Lay out a tortilla. Sprinkle a line of shredded cheese down the center. Top with a generous portion of the garlic butter chicken (and any optional add-ins). Add another small sprinkle of cheese on top of the chicken.
- Fold: Fold the sides of the tortilla in over the ends of the filling, then roll tightly from the bottom up, like a burrito.
- Toast (Optional but Recommended): Wipe the skillet clean and return to medium heat. Place the wrap seam-side down in the dry skillet. Toast for 1-2 minutes per side until golden brown and crispy, and the cheese inside is fully melted. Repeat for remaining wraps.
- Serve: Slice in half diagonally and serve immediately with your favorite dips.
Version 2: Crispy “Crunchwrap-Style” Garlic Chicken Wraps
This method creates a fully sealed, griddled package with maximum crispy surface area.
Ingredients & Instructions (Follow Steps 1-3 from Version 1 for the filling)
· Assembly Difference: Place a large flour tortilla on a surface. Pile the cheesy garlic chicken mixture in the center. Top with a smaller tortilla (like a street-taco size) or a large, crispy tostada shell for a true crunch.
· Fold & Seal: Fold the edges of the large tortilla up and over the center, creating pleats to fully enclose the filling. You will have a hexagonal shape.
· Griddle: Place the wrap fold-side down in a lightly buttered or oiled skillet over medium heat. Cook for 3-4 minutes until deep golden brown and crispy. Carefully flip and cook the other side for another 3-4 minutes.
· Serve: Let rest for 1 minute before cutting into it (the filling is molten hot!).
Flavor Variations & Pro Tips
Variations:
· Buffalo Chicken: Add ¼ cup buffalo sauce to the garlic butter and use ranch dressing and blue cheese crumbles.
· Spinach & Artichoke: Mix in ½ cup chopped spinach and ¼ cup chopped artichoke hearts with the chicken. Use a creamy cheese like provolone.
· BBQ Cheddar: Swap garlic butter for your favorite BBQ sauce and use sharp cheddar cheese. Add red onion and cilantro.
Pro Tips for Success:
· Garlic Rule: Don’t burn the garlic! Cook it on medium-low heat just until fragrant to avoid bitterness.
· Cheese Choice: A blend of cheeses melts better. For superior melt, try freshly shredded cheese from a block (pre-shredded has anti-caking agents).
· Tortilla Hack: Warm tortillas for 10-15 seconds in the microwave between damp paper towels to make them more pliable and prevent cracking.
· Make Ahead: The chicken filling can be made 2-3 days ahead and stored in the fridge. Reheat before assembling wraps.
Enjoy your gooey, garlicky, and incredibly satisfying creation! These wraps are customizable, quick, and guaranteed to be a hit.